A closing garage door relies on an invisible safety line, not just the opener. Two photo-eye sensors send a beam across the doorway; when a person, pet, or object breaks it, the door should stop and reverse. Troubleshooting garage door photo eyes starts by identifying whether that beam is blocked, misaligned, interrupted by dirty lenses, or affected by a damaged bracket.
A door that won’t close or reverses unexpectedly can be frustrating, and the cause isn’t always obvious. This guide explains what photo eyes do and how a professional can inspect the lenses, indicator lights, alignment, brackets, and wiring to identify a likely fault. You’ll learn which symptoms may point to a sensor issue, how sunlight or a damaged connection can affect operation, and when the problem may involve the opener or door instead. The aim is to clarify the next step while keeping the door’s safety system working.
Key Takeaways
- A technician can clean sensor lenses and assess seasonal debris that may interrupt the safety beam.
- Photo eyes stop a closing door when something crosses their invisible beam, helping protect people, pets, and vehicles.
- Blinking indicator lights or a loose bracket can point to alignment or sensor problems, but light patterns vary by model.
- If basic sensor checks don’t resolve the issue, the cause may involve wiring, the opener, or door movement.
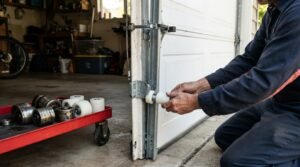
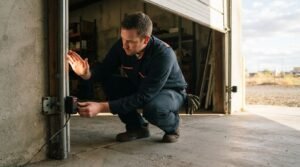
Professional cleaning of dirty garage door sensor lenses
A technician checks both photo eyes because dirt, moisture, or debris can interrupt the beam. Inspection helps distinguish a dirty lens from an obstruction or alignment problem.
How a Technician Checks for Blocked or Dirty Lenses
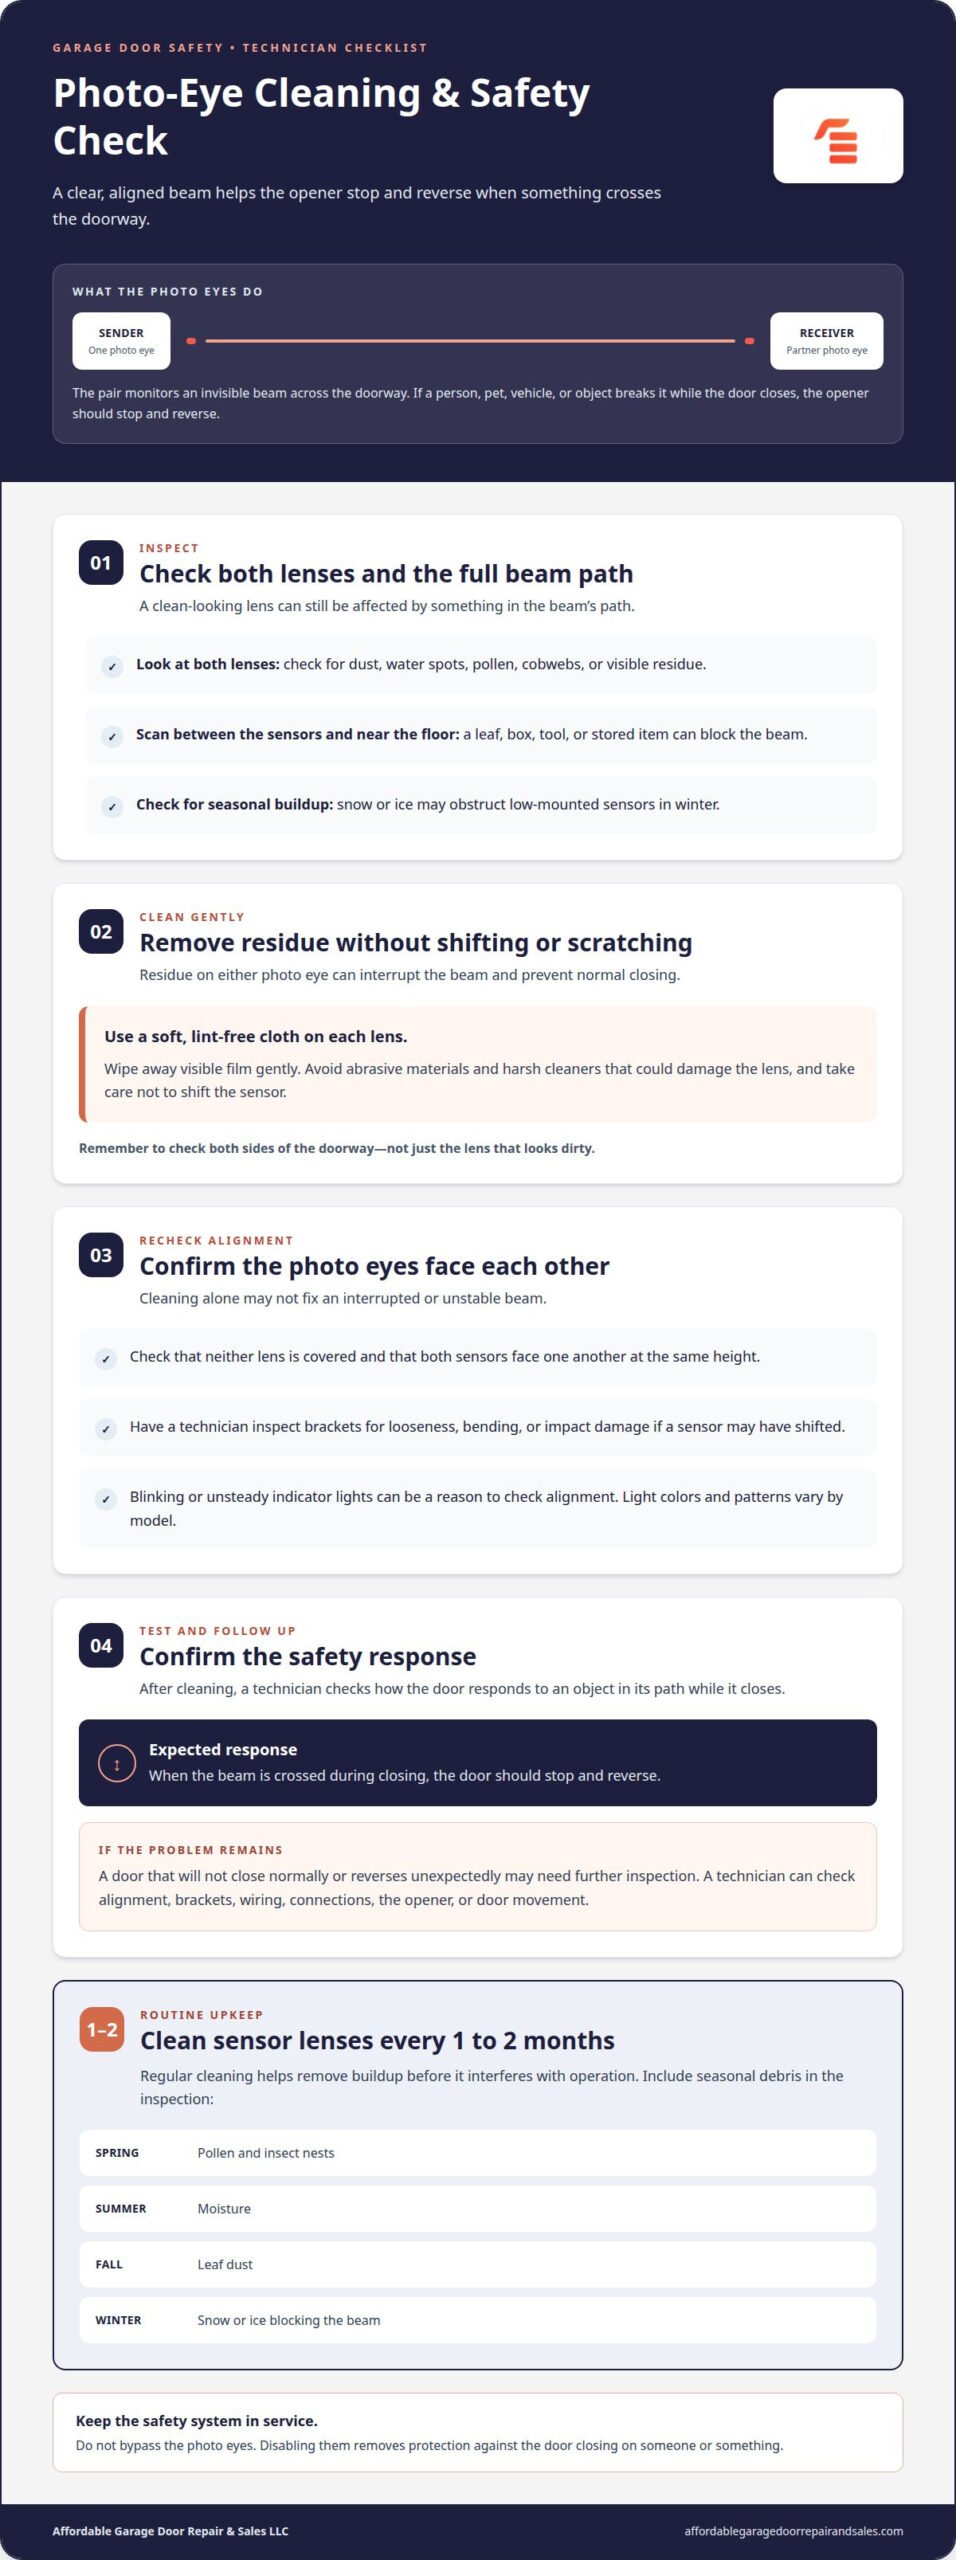
Inspect both lenses and the space between them for dust, water spots, pollen, cobwebs, or anything blocking the beam. A leaf or stored item near the floor can interrupt the sensor even when the lenses look clean. A technician also checks around each sensor for seasonal buildup, such as snow or ice in winter.
How a Technician Cleans the Sensor Lenses
Gently wipe each lens with a soft, lint-free cloth, removing visible film without scratching or shifting the sensor. Avoid abrasive materials and harsh cleaners that could damage the lens. Check both sides of the doorway, since residue on either photo eye can disrupt the beam and prevent normal closing.
- Recheck the beam after cleaning. Confirm that neither lens is covered and that both sensors face each other at the same height. If the door still won’t close normally, cleaning hasn’t resolved the cause. A technician can then inspect alignment, brackets, and wiring.
- Include seasonal debris in the inspection. Spring pollen and insect nests, summer moisture, and fall leaf dust can collect near low-mounted sensors. A technician can also check for winter ice or snow blocking the beam.
- Include the lenses in routine upkeep. Cleaning garage door sensors every 1 to 2 months helps remove buildup before it interferes with operation. After cleaning, a technician tests the door’s response with an object in its path while it closes, confirming that it stops and reverses.
What Do Garage Door Safety Sensors Do?
Photo eyes protect the doorway by monitoring an invisible beam between two sensors. A technician checks the beam, removes obstructions, and assesses interference before diagnosing a fault.
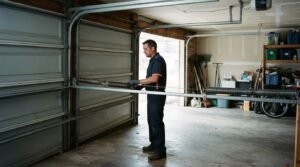
- Trace the sensor beam across the doorway. Garage door photo eyes sit near the floor and face each other. If a person, pet, vehicle, or stored item crosses the beam while the door closes, the opener should stop and reverse. A blocked beam can also prevent normal closing or cause the door to reverse unexpectedly.
- Have a technician inspect the full path between the sensors. A box, tool, leaf, or other item can block the beam even when both lenses look clear. The technician removes the obstruction, checks for nearby debris, and observes whether the opener responds normally during a controlled test.
- Consider direct sunlight if the fault occurs at a particular time of day. Sunlight can interfere with the beam, especially around sunrise or sunset at an east- or west-facing garage. A technician can assess the sensor bracket’s position and angle to determine whether adjusting its aim addresses the interference.
- Keep the safety system in service. Photo eyes help prevent a garage door from closing when something crosses the beam. Don’t bypass them: disabling the sensors removes protection against the door closing on someone or something. A technician should correct the underlying sensor problem instead.
- Ask for an assessment if replacement may be needed. The cost depends on sensor and opener compatibility, wiring condition, and whether a bracket also needs repair; pricing is provided after a quote request. To clean and check the eyes, a technician inspects both lenses and the beam path, removes visible residue or obstructions, then tests the door’s response. A professional garage door safety inspection can help assess persistent sensor problems.
Recognizing failed sensors or brackets
Sensor faults can resemble opener problems, so a technician compares the door’s behavior with both sensor lights and the condition of the brackets. These checks help distinguish misalignment from wiring or component failure.
Identify Common Sensor Fault Symptoms
Note whether the door won’t close, reverses before reaching the floor, or closes only while someone holds the wall button. These symptoms can point to a sensor-circuit problem, but they don’t identify the failed part on their own. A technician checks for beam obstructions and dirty lenses before assessing alignment, wiring, or the opener.
How a Technician Inspects Sensor Alignment and Brackets
Have a technician compare the height and aim of both photo eyes, then inspect each bracket for bending, looseness, or impact damage. Misaligned sensors may have blinking or unsteady indicator lights, and the door may not close normally. A bump can shift a bracket and point one sensor away from its partner, interrupting the connection.
Read the Sensor Indicator Lights
Ask a technician to interpret the lights using the opener and sensor model, since colors and patterns vary by brand. A sender commonly displays yellow or amber, while a receiver commonly shows green. Steady amber and green lights can indicate a clear, aligned pair; blinking lights are a reason to check alignment before replacing parts.
How a Technician Realigns Misaligned Sensors
A technician can reposition the brackets so both photo eyes sit at the same height and face each other, then check the lights and test the door’s safety response. If the lights remain unstable, the technician inspects low-voltage wiring and connections for cuts, pinching, looseness, corrosion, or disconnection. Visibly damaged wiring or a corroded or burned opener terminal block needs professional repair. Don’t continue operating the door in that condition.
How garage door photo eyes detect obstacles
Photo eyes create a monitored line across the doorway. Understanding how that signal works helps explain what troubleshooting garage door photo eyes can reveal about a closing problem.
- Trace the beam’s route between the paired sensors. One photo eye sends an invisible beam, and the unit opposite it receives the signal. The opener uses that signal to detect interruptions as the door closes.
- Consider what happens when something crosses the beam. A person, pet, vehicle, or item interrupts the signal, prompting the opener to stop and reverse the door. This response helps prevent the door from continuing through the detected obstruction. While automated sensors help protect vehicles during everyday parking, drivers looking to sharpen their overall hazard perception and vehicle control can also benefit from courses like those at 10A Driving School Silver Spring.
- Remember that the sensors monitor the beam’s path, not every part of the garage. An object outside that line may not interrupt the signal. That’s why a clear photo-eye beam doesn’t rule out every possible door or opener issue.
- Use the door’s behavior to guide further diagnosis. If it reverses while the beam is clear, a technician can assess the door’s movement and the opener’s force or travel settings. The sensors detect beam interruptions, but they don’t identify every mechanical cause of a closing problem.
- If the cause remains unclear, professional troubleshooting garage door photo eyes can help distinguish a sensor fault from an opener or door issue. A technician can assess the system and confirm its response during a controlled test. For help with a door that keeps reversing or won’t close, schedule garage door troubleshooting.
Affordable Garage Door Repair & Sales: Sectional & Roll-Up Doors
Affordable Garage Door Repair & Sales can help when a sensor issue points to a broader door or opener problem. If photo-eye checks don’t explain why your sectional or roll-up door won’t operate correctly, the next step is to assess the door system and identify the repair it needs.
If a broken spring is affecting the door, Spring Repair addresses the spring problem. If the opener is causing the trouble, Opener Replacement may be the relevant service. Sensor diagnosis alone won’t resolve a separate mechanical fault, so the right repair depends on the inspection.
If your door or opener still has a problem after basic sensor checks, contact Affordable Garage Door Repair & Sales to discuss the repair you need.
Choose a Clear Next Step for Your Garage Door
If the same closing problem returns, don’t treat each interruption as an isolated sensor issue. A technician can assess whether the photo eyes, opener, or door itself needs attention, helping you choose a practical repair instead of repeatedly resetting the system. Professional troubleshooting garage door photo eyes is especially useful when basic checks haven’t revealed the cause or the door behaves unpredictably.
Affordable Garage Door Repair & Sales LLC provides broken spring repair, Spring Repair, and Opener Replacement for related garage door problems. The right service depends on what is affecting your door’s operation.
Contact Affordable Garage Door Repair & Sales LLC to discuss the issue and take a clear next step toward reliable door operation.
Frequently Asked Questions
Still Reversing After All Five Checks?
If the door still reverses, the cause may involve its movement or opener controls rather than the photo eyes alone. The opener’s force or travel settings, obstruction sensing, and the door’s movement can all affect closing. A technician can assess the system as a whole, especially if the door feels heavy, appears damaged, or reverses unpredictably. Don’t bypass the safety sensors to keep the door moving.
Why does my garage door close only when I hold the wall button?
This behavior can mean the opener allows constant-pressure closing but prevents normal remote or keypad operation because of a sensor-circuit problem. Holding the button isn’t a repair or a safe workaround. A technician can inspect the sensor connections and opener operation to identify why the controls respond differently. Note whether both the remote and keypad are affected.
Why does my garage door start closing and then reverse?
A door that begins closing and then reverses may be reacting to an interrupted safety beam, but other causes are possible. The opener’s obstruction sensing, force or travel settings, and the door’s movement can also contribute. Note whether the reversal happens at the same point each time. That pattern can help a technician distinguish a sensor interruption from a door or opener issue.
How do technicians align and adjust garage door photo-eye sensors?
A technician checks whether the sensors are at matching heights, face each other, and remain firmly supported by their brackets. If a bracket has shifted, the technician adjusts its position and angle, then checks the sensor indicators. The final check is operational: the technician confirms that the opener responds appropriately during a controlled safety test, rather than relying on alignment alone.
What do garage door photo-eye sensor indicator lights mean by brand?
Indicator colors and patterns vary by sensor and opener model, so a blinking light doesn’t mean the same thing on every system. Yellow or amber often identifies the sending sensor, while green often identifies the receiving sensor, but the model-specific pattern matters. A technician uses the equipment model to interpret the lights and determine whether alignment, wiring, or a sensor needs attention.
When should you call a garage door technician for photo-eye problems?
Call a technician if the door is heavy or damaged, closes unpredictably, reverses repeatedly, or continues to have sensor problems after basic checks. Damaged wiring or a corroded or burned opener terminal block also needs professional attention. Affordable Garage Door Repair & Sales LLC provides Safety Inspections for garage door concerns in Everett, Puyallup, Seattle, Tacoma, Auburn, Wenatchee, Yakima, Pasco, Ellensburg, and Spokane.